Master the Art of Flat Iron Curls: A Step-by-Step Guide
Ever wondered how to achieve those effortless, long lasting, bouncy curls with just a straightener?
Say goodbye to the hassle of juggling multiple styling tools and hello to the simplicity of flat iron curls! In this guide, we'll unveil the secrets to transforming your hair with the Hot Tools Pro Artist Black Gold Evolve Ionic Salon Hair Flat Iron 1". Get ready to elevate your hair game!
As an Amazon Influencer and Affiliate, I do earn a small income when you purchase through my links. Thank you so much for your support!
The Ultimate Guide to Curling Your Hair with a Flat Iron
Take a look at my flat iron curl tutorial and review of the Hot Tools Pro Artist Black Gold Evolve Ionic Salon Hair Flat Iron 1".
Prepping Your Locks: The Foundation of Flawless Curls
Before you even plug in your flat iron, it's crucial to lay the groundwork for flawless curls. Prepping your hair correctly can make all the difference between lackluster waves and stunning, bouncy curls. Here are the essential steps to ensure your hair is primed and ready for styling:
Choosing the Right Flat Iron for Perfect Curls
Not all flat irons are created equal, especially when it comes to curling. To achieve perfect curls, you need a flat iron that's up to the task. The Hot Tools Pro Artist Black Gold Evolve Ionic Salon Hair Flat Iron 1" is a top contender. Here's why:
Rounded Edges: This flat iron features rounded plates, which are essential for creating smooth curls without kinks or creases.
Adjustable Heat Settings: Different hair types require different heat levels. The Hot Tools flat iron allows you to adjust the temperature to suit your hair's needs, ensuring you don't apply too much heat and cause damage.
Ionic Technology: This technology helps reduce frizz and static, leaving your curls smooth and shiny.
The Importance of Heat Protection:
Using a heat protectant is an essential step in any heat styling routine, whether you're curling, straightening, or blow-drying your hair. Heat protectants work by forming a protective barrier on the surface of your hair, which helps to shield it from the damaging effects of high temperatures. This barrier is often made up of silicones or other polymers that can dissipate heat, as well as conditioning agents that can help keep your hair hydrated and smooth. Additionally, many heat protectants are formulated with antioxidants and proteins that can help strengthen your hair and prevent breakage. By using a heat protectant, you can help minimize the risk of heat damage, such as dryness, brittleness, and split ends, ensuring that your hair remains healthy and vibrant even with regular styling.
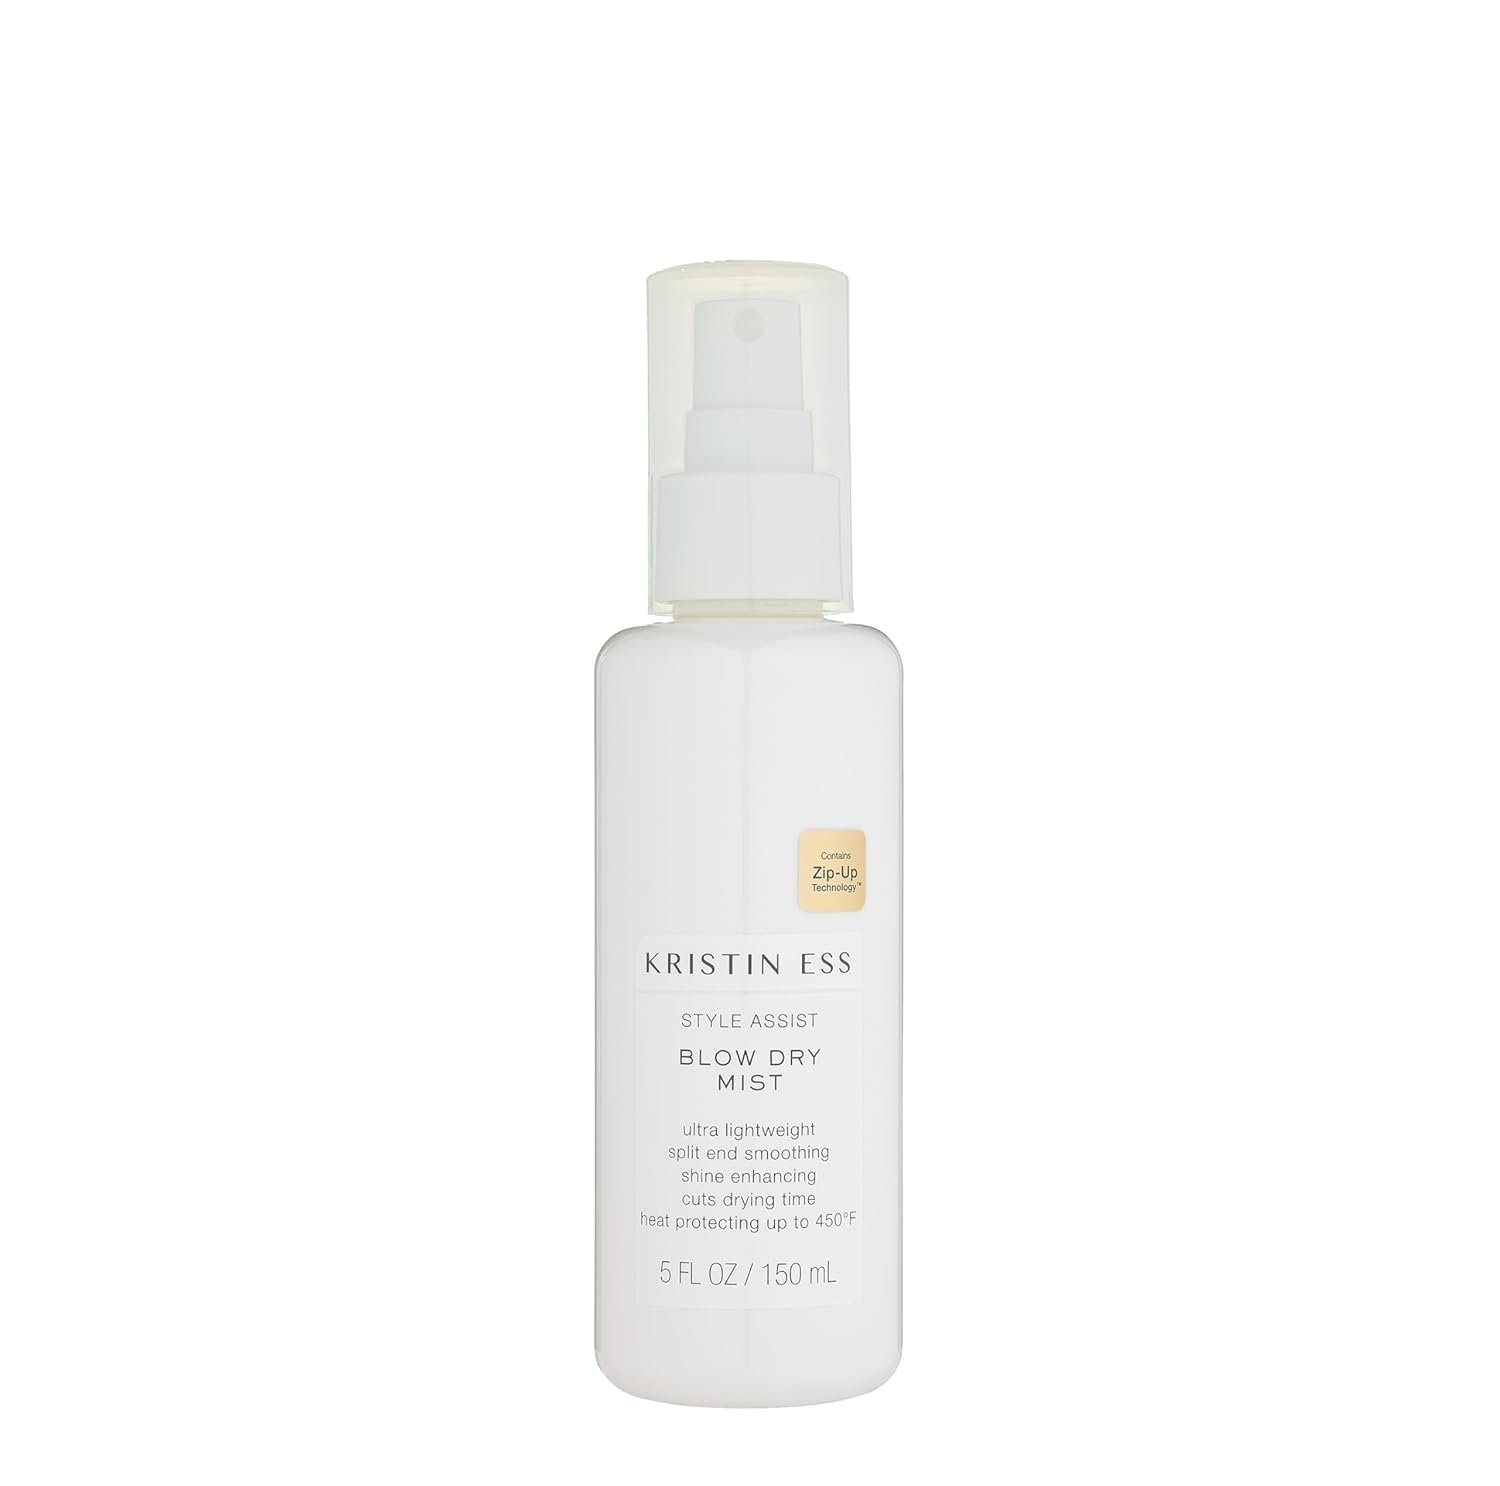
Heat Protectant for WET Hair:
I know this blog is focused on a dry style, curling with a flat iron. However, I do recommend washing and blow drying your hair before curling for the best result and healthiest hair.
Kristin Ess Style Assist Blow Dry Mist Heat Protectant Spray for Hair
IGK GOOD BEHAVIOR 4-in-1 Prep Spray
this is what I am currently using, personally.
Heat Protectant for DRY Hair:
IGK GOOD BEHAVIOR Spirulina Protein Smoothing Spray
this is what I am currently using.
Step-by-Step: How to Create Flat Iron Curls
Achieving gorgeous curls with a flat iron is easier than you might think. With the right technique and a little practice, you can transform your straight locks into bouncy, beautiful curls. Here's a step-by-step guide to help you master the art of flat iron curls:
Sectioning Your Hair for Even Curls
Before you start curling, it's important to section your hair. This ensures that each curl is uniform and you don't miss any strands. Here's how to do it:
Start with Detangled Hair: Make sure your hair is free of knots and tangles for smooth styling.
Divide Your Hair: Separate your hair into sections. The thicker your hair, the more sections you'll need. Typically, dividing your hair into 3-5 layers from bottom to top works well.
Clip the Upper Sections: Use hair clips to hold the upper sections of your hair out of the way while you work on the lower sections.
The Technique: Twisting and Gliding for Beautiful Curls
Now that your hair is sectioned, it's time to start curling. Follow these steps for each section:
Take a Small Section: Work with small sections of hair. The typical recommendation is to take a section the same size as the tool you are using. Additionally, you can follow the rule of: small sections for tighter curls/waves and larger sections for larger curls/waves.
Clamp and Twist: Gently clamp the flat iron close to the roots of the section, then twist it away from your face. This motion is key to creating curls rather than just waves.
Glide Downward: Slowly glide the flat iron down the length of the section while maintaining the twist. The speed at which you move the flat iron will affect the tightness of the curl – slower for tighter curls, faster for looser waves.
Repeat: Continue this process, working through each section of your hair.
Alternate the direction of the curls (away from your face and towards your face) for a more natural look.
Cool and Set: Let your curls cool down before running your fingers through them. This helps set the curls and adds longevity to your style.
Tips and Tricks for Maintaining Your Flat Iron Curls
Once you've mastered the art of creating flat iron curls, the next step is to maintain them. Here are some tips and tricks to keep your curls looking fabulous:
Preserving Your Curls: Overnight and Day-to-Day Tips
Silk Pillowcase: Sleep on a silk pillowcase to reduce friction and prevent your curls from getting frizzy or flattened.
Bonus: a silk pillowcase retains moisture in skin and hair, the protein found in silk is proved to naturally remove the dead skin cells, and sweat to promote supple skin, provides a smooth surface for your face and hair to glide over, with 46% less friction for less wrinkles. Also protect your hair from getting knotted, letting it glow naturally and healthily. Silk also has inherent cooling abilities for luxurious touch.
Pineapple Method: Gently gather your curls on top of your head and secure them with a scrunchie to preserve their shape overnight.
Refreshing Your Styled Curls: Quick Fixes for Busy Mornings
Dry Shampoo: Apply dry shampoo to your roots to absorb excess oil and add volume.
Re-Curl: If a few curls have fallen flat in the night, simply re-curl those select curls.
Embrace the Versatility of Your Flat Iron
The Benefits of Mastering Flat Iron Curls
Learning how to create curls with a flat iron opens up a world of styling possibilities. You can achieve a variety of looks, from loose waves to tight curls, all with one tool. It's a versatile and convenient option for anyone looking to switch up their hairstyle.
Experiment and Enjoy: The Freedom of Styling with a Straightener
The beauty of using a flat iron for curling is the freedom to experiment with different techniques and styles. Don't be afraid to try new things and find what works best for your hair. With practice, you'll be able to achieve salon-worthy curls right at home!